Okay...first of all let me say that creating this wig was drama! I resewed it two and a half times- yes it took me hours! Firstly I sewed one bundle on a wig cap which was wrong because it wasn't sturdy enough. I undid it. Secondly I sewed both bundles (I have two 16" wefts) on a weaving cap and cut the U to make a U part. Now it wouldn't blend- two different curl patterns and colours. Now I really wanted to cry :(. Finally, I asked for advice and sewed both bundles on a weaving cap using
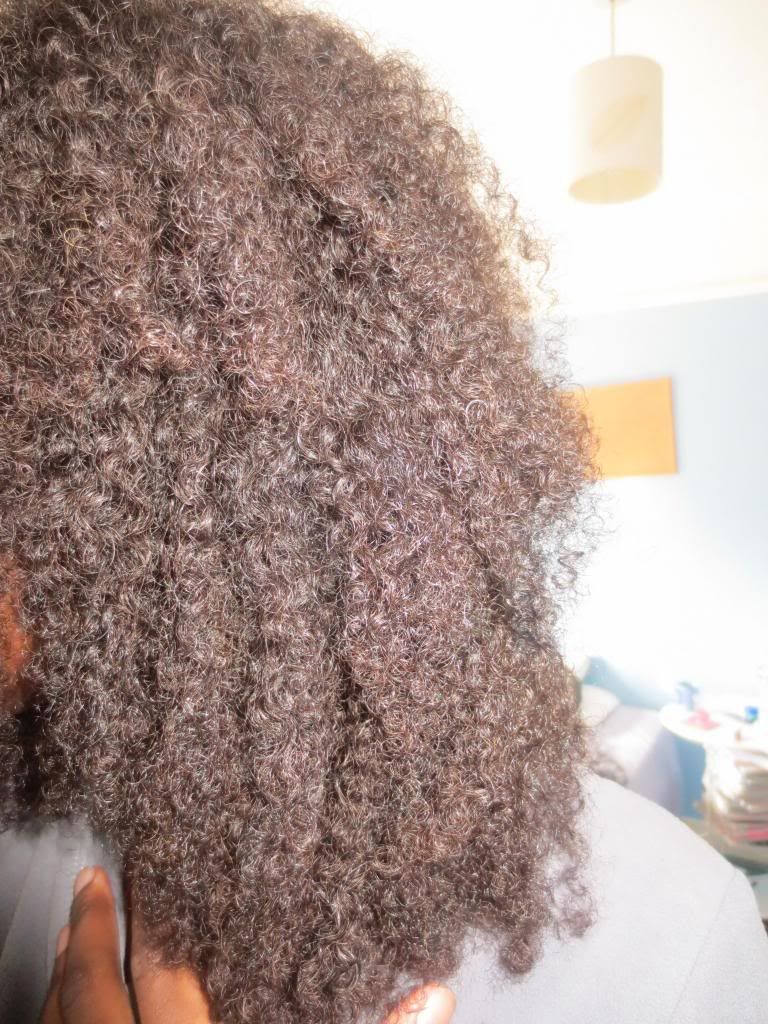
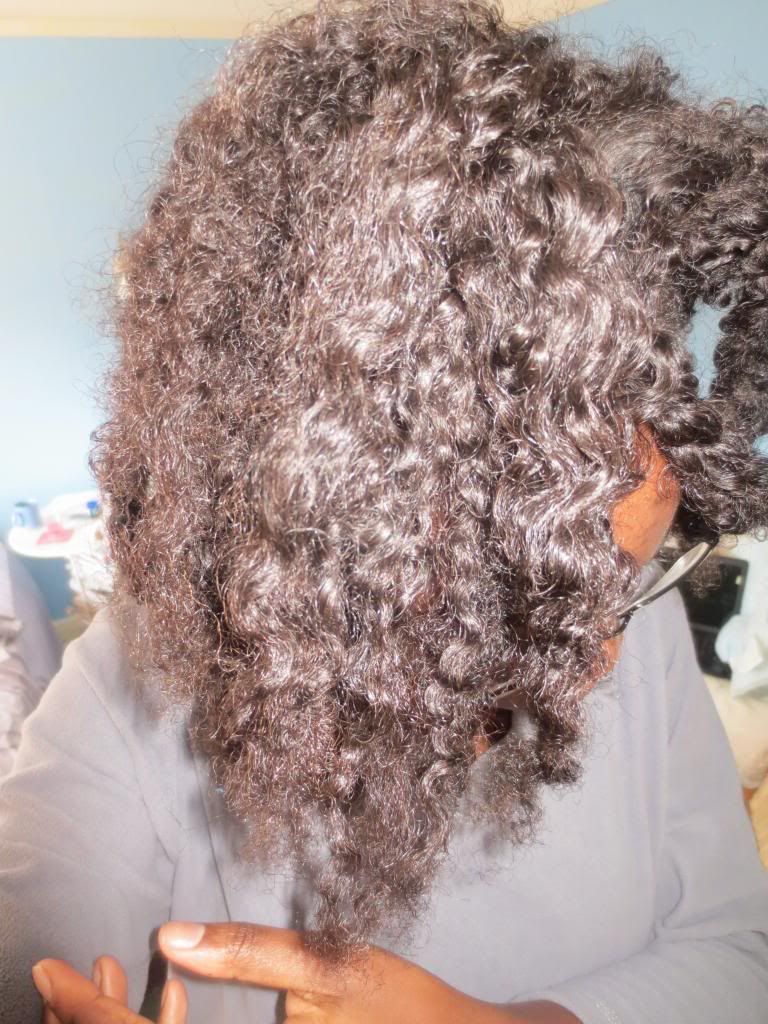
Poisonflowerivy's no closure method. Omg she is a genius! I was smiling when I finished it. This is what the hair looks like:
I have left the perimeter (my edges out) to enable me to do a part if I wish or to brush it back. I will just blend it with ecostyler gel. The only product I have used on this hair is Suave Naturals conditioner and coconut oil and water I fingercombed the hair to detangle. I thought about cutting it/thinning it but I thought no WAY not after how much I paid for it. One third of a bundle has been cut for the front. Otherwise I used every single strand of hair and I did NOT cut any wefts. I used the flip over method click
here (again Poisonflowerivy's video) to see. No ma'am was I cutting any wefts- nope! I sewed over the wefts (NEVER sew through). I also sealed the wefts twice (was probably a bit heavy handed because some of the wefts have a white residue on it :/). Anywho I will be doing a video about how the hair is holding up in due course.
Hope this has been helpful.
I knew the results were in when my brother said "Is that actually your hair?" when I told him no he said "It looks like your own hair, you should keep your hair that way it looks like it's growing from your own head". D'aww!
For more info on where/what I purchased click
here

No comments:
Post a Comment